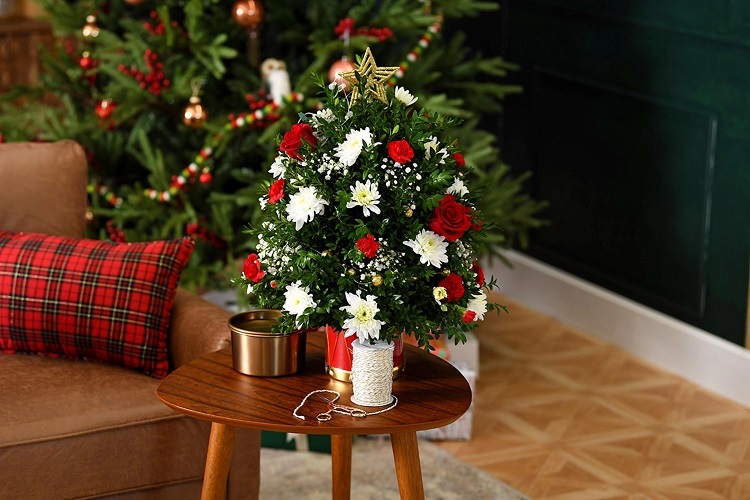
Why settle for store-bought sparkle when you can make your own magic? DIY Christmas ornaments let you craft something that feels 100% your own. A mix of creativity, nostalgia, and glitter.
Turn forgotten trinkets, old fabrics, or pinecones from your last winter walk into festive decorations with charm and personality. Each piece tells a story, making your tree a gallery of memories rather than a department-store display.
Grab your glue gun. Christmas creativity starts here.
Gather Your Treasures
Before you set foot in a shop, raid your own home. The best materials are already lurking in drawers, cupboards, and that mysterious box under the stairs you’ve been avoiding since March.
Forgotten odds and ends make surprisingly good decorations. Better yet, transforming them is quite satisfying. The kind of small creative win that makes you feel smugly resourceful for at least three days.
Bottle caps turn into instant garland once you add paint and string. Similarly, cardboard tubes morph into snowflakes or stars with a few strategic cuts.
Even jam jars can become table decorations when you fill them with fairy lights and cinnamon sticks. The bonus is that they smell fantastic while they glow.
Fabric scraps you’ve been hoarding for no reason finally have a purpose. Twist them into bows or wrap them around plain baubles for instant texture.
Each rescued item becomes a tiny story on your tree. And you feel the joy of making something lovely from something forgotten.
Choose Your Colour Scheme First
Pick your colours before touching a single bauble. This sounds boring, but it’s actually the difference between ‘magazine-worthy’ and ‘toddler’s first collage’.
Stick to three colours maximum. A rustic touch comes with deep red, forest green, and gold accents. For an elegant look, go with white, silver, and the palest blue. And if you’re feeling glamorous, sprinkle emerald, ruby, and sapphire. Do so generously for a dramatic effect.
A colour scheme also tells you what to ignore. That gorgeous purple ribbon can wait for another project, and the orange felt belongs nowhere near this tree.
The result is a tree that looks intentional rather than accidental. One that makes visitors pause and genuinely admire it, instead of politely searching for something nice to mention about the angel on top.
Create Beautiful Decorations
With your materials gathered and your colour story set, it’s time to bring your festive ideas to life. These DIY Christmas decorations for trees are simple to make, but the result is quite impressive.
Make Some Fabric Bows
Effortless yet elegant, fabric bows add instant charm to your Christmas tree. Gather a few fabric scraps, scissors, wire or string, and a ribbon for finishing.
Cut your fabric into strips around 20–25 cm long and 5 cm wide, tie them securely in the middle, then wrap a ribbon over the centre for a polished finish. Old shirts, pillowcases, or leftover fabric from other projects work perfectly.
These are perfect for roping children into helping. They giggle while pointing out their bows on the tree for the entire season, and you get more boots on the ground. Everyone wins.
Paint a Bunch of Pinecones
For a touch of woodland magic, collect pinecones from the garden or your next winter walk. Clean and dry them thoroughly. If you want them to look really nice, a brief spell in a warm oven helps them open up.
Paint them in shades that match your theme. Go for classic white-tipped edges, soft metallics, or bold pops of colour. And finish with a dusting of glitter or a satin bow for a little sparkle.
The beauty of pinecones is that they already look decorative. You’re just enhancing what nature provided.
Make It a Family Affair
Everyone from toddlers to grandparents can contribute something, and the mess of colours and glitter is generally worth the entertainment value.
Paper Snowflakes
Paper snowflakes require nothing more than paper and scissors, which makes them the perfect low-stakes starting point.
Folding and cutting create satisfying geometric patterns, and younger children get genuinely excited about the reveal when they unfold their design.
Use coloured sheets, old magazines, or even last year’s wrapping paper. And of course, you can add glitter for extra sparkle and cheer.
Salt Dough Ornaments
Salt dough ornaments involve an actual mess, so set your expectations accordingly. Mix two cups of flour, one cup of salt, and one cup of water until you get a workable dough. A splash of vegetable oil makes it less sticky and easier for small hands to manage.
Roll it out, cut shapes with cookie cutters, then bake them until firm. Once cooled, everyone can paint their creations in whatever colour scheme they fancy.
Your eight-year-old will insist on hanging his lumpy star front and centre, and honestly, that’s the point. These ornaments cost almost nothing to make, and they give children a genuine sense of ownership over the tree. Just prepare for having flour absolutely everywhere.
Store with Care
You’ve made these decorations, so you might as well look after them properly. Future you will appreciate the effort when you’re not fishing broken ornaments out of a collapsed cardboard box next December.
Invest in decent storage containers with lids that actually close. Flimsy boxes from the supermarket will probably let you down.
Wrap fragile items individually in tissue paper or bubble wrap. While you’re at it, give each one its own space rather than throwing them all in together, and hoping for the best.
Next, label everything clearly. ‘Christmas stuff’ is rather generic and not too helpful when you’re looking for the fabric bows at 9 pm on December 23rd.
And don’t forget to clean everything before packing it away. A quick wipe removes dust and prevents the untimely deterioration of your precious pieces.
The practical benefit is obvious: your handmade decorations actually make it to next Christmas intact. The less obvious benefit is that unpacking them becomes genuinely pleasant rather than an exercise in damage assessment.
Each year, your tree will accumulate more history because you keep everything intact.
Conclusion
Your craft drawer has been waiting for this moment. Set aside an afternoon, choose your colours, and start making something that actually belongs to you. Just imagine how these trinkets will look on your Christmas tree.
When you’re done, you’ll have decorations worth keeping and full bragging rights till New Year’s Eve.