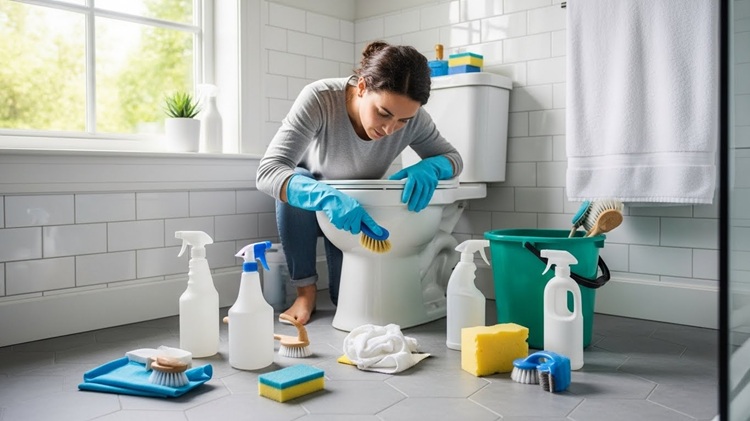
Moving out? Your bathroom needs to be spotless. After months or years of daily showers, your bathroom has likely seen better days.
Landlords know bathrooms are high-traffic areas, which means they’ll scrutinise every tile, tap, and toilet bowl during that final inspection. A grimy bathroom is one of the quickest ways to lose part of your deposit, so it’s worth getting it right.
While a deep clean may feel daunting, it’s entirely manageable with some planning. This guide covers everything you need to ensure your bathroom meets your landlord’s expectations.
Sort Out Your Tiles and Grout
Bathroom tiles might look clean at first glance, but take a closer look at the grout lines. Chances are, they’ve gone from white to grey, thanks to mould and mildew thriving in all that humidity.
Start with warm water and washing-up liquid for a general clean. A soft sponge works well for most surface dirt, soap scum, and light watermarks.
For stubborn stains, make a paste with bicarbonate of soda and white vinegar. Apply it to the grout lines, leave it for about ten minutes, then scrub with an old toothbrush. The fizzing action does most of the work for you, lifting grime without excessive scrubbing.
If you still have problem areas, pop down to your local Screwfix or B&Q for a dedicated grout cleaner like HG Grout Cleaner. These products are formulated specifically for the job and work brilliantly on neglected grout.
If your bathroom has been seriously neglected, consider calling in professionals. Licensed tenancy cleaning services have commercial-grade equipment and can restore your tiles in a fraction of the time.
Give the Toilet a Proper Deep Clean
Landlords always check the toilet thoroughly. It’s non-negotiable.
Squirt toilet cleaner, such as Domestos or a similar product, under the rim and let it work for at least five minutes to break down limescale and stains. Then scrub with a toilet brush, paying special attention to the waterline where stains typically form.
For stubborn limescale around the bowl or base, use a pumice stone. It sounds harsh, but it’s gentle enough for porcelain and remarkably effective at removing mineral deposits without scratching.
Don’t forget the exterior. Wipe down the seat, handle, base, and the area behind the toilet with disinfectant spray. A 50/50 mix of white vinegar and water works just as well as shop-bought cleaners and costs considerably less.
These forgotten spots are often where inspections fail, so give them proper attention.
Tackle the Shower and Bath
Soap scum and limescale love showers and baths. Left unchecked, they create a dull, grimy film that screams “not cleaned properly.”
For glass shower doors or screens, use a glass cleaner or white vinegar solution. Spray generously, let it sit for a few minutes, then wipe clean with a microfibre cloth. For the door tracks and hinges, use an old toothbrush to get into the crevices where grime hides.
If your showerhead is crusty with limescale, don’t despair. It’s a common problem in hard water areas across the South East and Midlands.
Just fill a sandwich bag with white vinegar, secure it around the showerhead with an elastic band, and leave it for an hour. The limescale will dissolve, improving both appearance and water pressure.
For the bath itself, use a non-abrasive cream cleaner like Cif to scrub away soap scum and watermarks. Focus on the edges and corners where residue accumulates.
If the drain is slow, clear it out now—a clogged drain during inspection raises red flags about general maintenance.
Make Mirrors and Fixtures Shine
Streaky mirrors make the whole bathroom look shabby, even if everything else is clean.
Use a glass cleaner or a white vinegar solution with a microfibre cloth, wiping in circular motions. Finish with a dry cloth for a streak-free shine that’ll pass any inspection.
While you’re at it, tackle the taps, towel rails, and toilet roll holder. Chrome fixtures show water spots and limescale easily, especially in hard water areas. A quick wipe with a vinegar solution or a limescale remover like Viakal will bring back their shine.
These small details make a big difference. Sparkling fixtures suggest the whole property has been well-maintained.
Finish with Floors and Final Checks
Once you’ve cleaned everything else, sweep and mop the floor to catch any drips or cleaning residue. Use a cleaner appropriate for your flooring type—tile, vinyl, and laminate all need different approaches.
Pay particular attention to the area around the toilet base. Dust, hair, and grime tend to collect there, and it’s a spot landlords specifically check.
Before you call it done, walk through with fresh eyes. Check for stray hairs, soap residue in corners, and make sure all surfaces are dry and streak-free. Run your hand along surfaces to feel for any remaining grime—your eyes might miss what your fingers catch.
If you’re short on time or the bathroom is in rough shape, hiring a cleaning company is worth considering. They’ll guarantee the work meets professional standards, which means one less thing to worry about during an already stressful move.
Maintain Cleanliness During the Moving Process
Even after a deep clean, the bathroom can quickly get dusty or dirty during the moving process. Protect your hard work by placing a small mat or disposable cloth near entrances to trap dirt, especially if multiple people are going in and out.
Remove personal items, toiletries, and bath mats well in advance to prevent accidental spills or marks. Wipe down surfaces daily in the days leading up to the inspection to prevent dust or water spots from accumulating.
Pay attention to corners behind the toilet and around the shower tray—these areas are easily overlooked but can leave a negative impression during inspections. For a final touch, consider using a mild air freshener or a natural essential oil diffuser to leave a light, pleasant scent.
By maintaining cleanliness right up to the inspection, you ensure that your bathroom continues to look its best and demonstrates that the property has been well cared for, further securing your deposit.
Conclusion
Getting your bathroom up to end of tenancy standards isn’t glamorous, but it’s essential if you want your full deposit back. Landlords expect every surface—from toilet to tiles to taps—to be thoroughly cleaned, and overlooking even small details can cost you.
A properly cleaned bathroom shows respect for the property and dramatically improves your chances of getting your deposit returned in full.
Put in the effort now, and you’ll thank yourself when that deposit lands back in your account.